Beauty, Fashion, Recipes, DIY Projects, and More: All for the Busy and Budgeted.

Wednesday, June 25, 2014

Lush Moisturizers!


So, one of my dearest darlingest friends works at Lush. So, the other day, I tweeted about not liking face masks that didn't feel like they were setting your pores on fire with a hot flaming sword, she quickly responded with a face mask suggestion. So, I made my second-ever trip to Lush to get the "Mask of Magnaminty." She also recommended some face scrub, and I kind of always wanted to try the Cupcake Face Mask.

Now, Lush is the sort of store where the people working are super helpful. The girl helping me out suggested I go with a new face-bar-cleanser-deal instead of the face scrub (for now, but I'm going to try out Renee's suggestion sometime, too, because Renee's face is flawless), informed me that the Cupcake Face Mask needs to be refrigerated (meaning I couldn't buy it that particular trip, but, I still really want to try it out), and set me up with three moisturizers.

That's more background than you needed to know. But that's what you get. I'm all about the over-informative spiel.

So, I'm going to review the moisturizers here!


Celestial Moisturizer
Stuff I Liked:
  • It makes my face smell like an orange julius. I love orange juiliuses. 
  • It soaked into my face as soon as I put it on. So, I wasn't left with a slimy, lotiony feeling. Plus, I could go to my primer, like, right away without having to wait around for it to set. 
  • It didn't break out my face, which was nice.
Stuff I Didn't Like:
  • It also didn't do anything for my breakouts. It didn't, like, even out my skin or reduce my acne. I mean, that's not stuff I necessarily need from a moisturizer, but... it'd be nice.
  • When I was using it, my lips got super dried out. Now, there's not necessarily a correlation. Sometimes, I just have super dry lips. But, I was wearing lipstick a lot fairly recently without any problems, and I don't think I was really using any other new products. So, it could be related. 
  • Also, I had a dry patch of skin near chin, where I also had a bit of a breakout. Now, the dry skin is probably directly related to the breakout, but... shouldn't wearing moisturizer everyday limit that? Hmmm?


Vanishing Cream
Stuff I Liked:
  • Like the Celestial Moisturizer, it soaked into my face as soon as I put it on--so! No nasty-lotiony feeling, which is always nice.
  • My skin, at the beginning of the day, looked really nice. Like, smooth. 
  • It didn't breakout my skin, which is nice. And, I'm not saying it was necessarily as a result of the moisturizer, but my skin even seemed to clear up a bit. I mean, not a ton, but a bit
Stuff I Didn't Like:
  • I did not like the scent. It reminded me of model magic mixed in with a bit of doctor's office. Not appealing. 
  • My skin, at the end of the day, looked dry and clumpy. How does one's face look dry and clumpy? I'm not quite sure, but that's the best description I have for it. 


Imperialis Moisturizer
Stuff I Liked:
  • It actually worked like moisturizer! Like, after wearing it for a week or so, my face is completely free of dry patches! Even places where I've been using acne medication. SO...
  • Like the other two, it soaked into my face as soon as I put it on. Which is nice. And now that I'm out of Lush moisturizer samples, I'm back to using Clindamycin Phosphate Lotion which is fine, except... it makes my face all slimy and lotion-y. I super miss having a moisturizer that soaks into my face quickly. 
  • It didn't break out my skin. I have really sensitive skin, so I'm a fan of anything that doesn't actively harm it.

Stuff I Didn't Like:
  • It smelled gross. Like sweat and chlorine. Seriously, if a face cream is going to have the audacity to smell like summertime, it should at least match that with the decency to smell like sea salt and mango popsicles. 
  • It didn't really do anything for my skin. If it kind of cleared up my acne or evened my skin tone? That'd be great.
Overall, I thought all were kind of "meh." But, I was stoked about the whole soak-up-as-soon-as-it-hits-my-skin thing. Of the three, I'd pick the Imperialis Moisturizer because it worked best as a moisturizer. But, I liked the smell of the Celestial Moisturizer better than almost anything I've ever put on my face. 

Monday, May 12, 2014

Get Ready With Me: Gold Eyelids and Fishtail Braid

Before/After
Okay! We should start this Get Ready With Me with... makeup! Now, I'm going to present it like I do all of my makeup and then I go on to something else. That isn't true. Usually, I take a really long time doing my makeup because I watch whatever I would've watched the night before if I watched TV in the evening and I check all of my social network sites while getting ready. Plus, halfway through makeup-ing, I usually make my breakfast. You don't need to know all of that, really, but since we're doing a "get ready with me" I thought I'd be honest about how this doesn't really reflect my "process."


So, first, I used LUSH Vanishing Cream Moisturizer as my moisturizer. Not too long ago, I bought a bunch of LUSH products and they gave me several moisturizer samples. I'm going to review all of them on here pretty soon, so watch out for that.

Next, I used Baby Skin Instant Pore Eraser as my primer. I've been looking for a cheaper version of Dr. Brandt's Pores No More primer because I loved that stuff. I've heard some good things about the Baby Skin Instant Pore Eraser, but, quite frankly, it's slimy and significantly less impressive than Dr. Brandt's Pores No More. It's disappointing.

As per usual, I used ALMAY Clear Complexion Blemish Heal Concealer. I'm practically obsessed with this stuff.


For my liquid foundation, I used Neutrogena's SkinClearing Liquid Makeup. I'm still looking for a really good liquid foundation that will help my numerous skin problems. This one suffices, but I'm not stoked about it.

I used e.l.f. Studio Contouring Blush & Bronzing Powder for contouring. I did your run of the mill make-a-duck-face and splash the bronzer just below your cheekbone, grin and color the apples of your cheeks in with blush, blush/bronzing technique. 

Then, I set my face with ALMAY Smart Shade Loose Finishing Powder


For my eyes, I coated my eyelid and brow bone in L'Oreal Infallible Eyeshadow in Iced Latte. Then, I dusted Maybelline Color Tatto Pure Pigments in Breaking Bronze in the corners of my lids.

I lined Wet n Wild Color Icon Eye Liner in Black Black over two-thirds of my upper lash line, missing the corner of my lids to keep my eyes "open." As usual, I use my Rimmel London Lash Accelerator Mascara, which is pretty much my favorite black mascara.

Now, on to hair!


I have crazy amount of thick, frizzy, and curly hair. So, after sacrificing a hairband or two, I beat it into a fishtail braid. And I would totally tell you how to do a fishtail braid, but... it'd be kind of hard to tell you, I'd have to show you. Speaking of, should I do a fishtail braid tutorial on my beautythekat youtube channel?

Now, for breakfast... I had an orange julius and chocolate peanut butter oatmeal. Recipes? Okay, here you go.


Orange Julius


Blend:
1 Frozen Banana
1/4th cup of Concentrated Orange Juice
3/4th-1 cup of Vanilla Almond Milk
1 splash of Vanilla Extract
1 dash of Sugar

Chocolate Peanut Butter Oatmeal

  1. Bring 1 cup of vanilla almond milk to a boil
  2. Stir in 1/2 cup of rolled oats
  3. Follow instructions on box, you may have to let the oatmeal boil anywhere from 1-7 minutes
  4. Stir in 1 tablespoon of peanut butter and 1 1/2 tablespoons of dark chocolate chips

After breakfast, I brushed my teeth with my Crest Be Inspired Vanilla Mint Spark Toothpaste. I mentioned it in my April Favorites video. It's a pretty nice toothpaste, you guys. 

Then, post toothbrushing, I used my NIVEA "A Kiss of Milk & Honey" Soothing Lip Care chapstick? lipbalm? stuff. Then, I colored my lips with NYX Matte Lip Cream in "Prague." 

Then, uh, here's the finished product:


Friday, May 9, 2014

Beauty Advice for the Undergrad

So, as you may know, I'm graduating at the end of this week. So, I'm pretty much an expert in all things collegiate. Recently, over on my other blog, I made an Advice for the Undergrad blog post. So I figured I should also write up a beauty/lifestyle advice post to go along with it. And that's what this is. So, here we go:

  1. Try out lots of different styles. When you're in your late teens/early twenties stage of life, it's totally acceptable for you to wear cheetah print leggings with huge neon green t-shirts. Why? Because you're figuring yourself out, that's why. If you spend 98% of your time in sweats with your school logo on it... that's fine, but you're kind of missing an awesome opportunity to wear whatever the heck you want just to see if you can pull it off. Now, part of this is just not letting it bug you what other people think of you. Basically, if you're walking around in a cocktail dress made out of aluminum foil and you keep thinking do I look like takeout? You're going to look like takeout. But, if you're walking around in a cocktail dress made out of aluminum foil thinking that's right I bet you wish you had a cocktail dress made out of aluminum foil, people probably won't even think twice about it. "Is this true?" You ask. I don't know, but it's nice to think of life that way, isn't it?
  2. You need three different levels of getting ready in the morning. 
    • The first is "I have an hour and a half before I have to leave for class, SO:" at this stage, you spend a little time on your hair. Flat-iron it, curl it, do whatever to make it look nice-ish. This is the day you want to put together a nice outfit. Maybe you want to try out that hot aluminum foil cocktail dress trend that all the cool kids are rocking. Maybe you want to wear a three piece suit. I don't know. You do you.
    • The second is "I have forty-five minutes before I have to leave, SO:" at this stage you brush your hair, you wear coverup, mascara, and foundation, and you put on real clothes. By "real clothes" I mean not your sweatpants. Seriously, who are you? The One Tree Hill boys in season one? 
    • The third is "Oh shoot I have to be at school in fifteen minutes, SO:" at this stage, you throw on some coverup and finishing powder, you incorporate part of your pajamas into your outfit, and you braid your hair once you get to Intro to Sociology. 
  3. You need three different levels of eating breakfast in the morning. Eating breakfast is non-negotiable. Seriously, it's not cool/mature/chic to skip out on breakfast. You haven't eaten for around ten hours, so you need to break that fast. And since you care about your sanity, you need to break that fast with something a little more than just "coffee." 
    • The first is "I have an hour and a half before I have to leave for class, SO:" make yourself a proper breakfast. Like, a breakfast sandwich, a banana, and a glass of milk. 
    • The second is "I have forty-five minutes before I have to leave, SO:" make something quick that you can eat while you're getting ready. Like, oatmeal. Or cream of wheat. Or a bowl of cereal with banana slices. 
    • The third is "Oh shoot I have to be at school in fifteen minutes, SO:" grab a poptart and a water bottle and scarf that down while you're mad-dashing to class. 
  4. Dress up for presentations. You're probably going to have to do a presentation for every class. And when you do, you want to look presentable. I'm not saying you have to wear a ball gown. I'm not even saying you CAN'T wear jeans. I'm saying: wear a button down shirt, or a simple dress. Brush your hair. Don't show up in sweatpants. Don't wear a graphic t-shirt. Wear something you would wear on a job interview or a date. And if you would wear sweatpants and a stupid graphic tee on a job interview or a date? Don't. What's-a matter with you?
    This is what I wore to one of my presentations this past year.
In my "Advice for the Undergrad" blogpost, I had a lot more tips than just four. So, in part, I feel like I've let you down by not coming up with twenty awesome beauty tips for the college student. But, ultimately you can boil my beauty advice to just this: take care of yourself, try new things, find out what you like, and then wear whatever you like without really caring what other people have to say (or sneer) about it. Unless what you like is sweatpants, in which case... don't JUST wear sweatpants. Seriously. Unless you are super cute, you can't get away with wearing sweatpants every day. I mean, yeah, you can "get away" with it, but you can't "talk to me" if you're only ever going to wear sweatpants.

Monday, April 21, 2014

A Little More S'more...

All righty, folks. We've officially hit that season where, in the Midwest, it will snow one day and be hot as Hades the next. SO, if you're a giant sweet-tooth like myself, I have the perfect recipe for you this time of year. Why is it perfect? You ask... WELL:
  • For your crazy hot days: it's a take on a classic summer recipe.
  • For your snowy days: it's a warm, cozy treat.
  • MOREOVER: it's a delicious combination of flavors.
  • Plus: you can make it over a campfire, in an oven, or even in a microwave. I chose oven. 
Here are the ingredients you will need:

  • Rollos/Rollo Minis. (One bag of Rollo Minis should make about two s'mores... based on how many you use per s'more.)
  • Marshmallows. (I went mini-marshmallow since I'm making oven-baked s'mores. If you're doing traditional fireside, you'll want to go for a bigger marshmallow.)
  • Graham Crackers. (Don't be weird. Use traditional/honey.)
  • Peanut Butter. (Again, don't be weird. Use creamy.)
Okay, so I'm going to show you what I did with the oven-baked version. If you're using a different means--microwave, fireside, stovetop, sheer will power, whatever--you'll have to intuitively make adjustments. 

Step 1: Get a graham cracker and put it on an oven-safe plate.

Step 2: Cover it in Rollos. 

Step 3: Cover it in marshmallows. 

Step 4: Put it in the oven on low-ish heat until the chocolate gets melty and the marshmallows get toasty.


Step 5: Slather some peanut butter on another graham cracker.

Step 6: Smush the two pieces of graham cracker together. Then wait a bit for it to cool down.

Step 7: Now, prepare to make one delicious mess, eat, and enjoy.


Sunday, April 20, 2014

Braid of Braids

A few weeks ago, I posted a "Rapunzel Inspired" hair tutorial video on my youtube channel. It was basically a really intense braid of braids. If you're interested, you can watch that here.

I'm a big fan of braiding braids into braids. Part of this is because I have really thick hair and it makes it a little more manageable. Also, it's the summer. I need to get that hot mess up and off of my neck.

So, here's another time that I went a little braid-crazy...


I have a skinny braid on the right side of my head that I've flipped over like a headband and pinned into place. I have another braid on the right side of my face that is braided into the braid composed of three braids that's draped over my left shoulder. The braids on the left bit of my face are braided into a skinny braid and pinned to the side.


In case you wanted a little closer look...

As you can see, one thing I have difficulty with is, generally, keeping the back of my head looking neat and tidy. So, I don't really bother. 

Also, just in case you think my braid of braids isn't excessive enough...


I tossed on a gold braided headband. 


Thursday, April 17, 2014

Character Makeup: Rae

So. You may know this if you watched my February Favorites Video from, like, forever ago... But: I am obsessed with My Mad Fat Diary. It is a fantastic show. If you're not watching it, you really gotta get on it. Seriously, it's fantastic.

Now, if you watch my beautythekat youtube channel at all, you may know that I really enjoy emulating characters' looks.

SO! This is my Rae-look Makeup! We'll start off with a reference picture:


(Aww, Rae and Finn. So cute.) I'm going to use this look from S2E1 as my inspiration. Most of the time, Rae rocks the not-actually-wearing makeup look. So, I'm going for a mostly-natural look as well.

Let's get started!


I started off with moisturizer, foundation, and coverup. I used my Clindamycin Phosphate Lotion as my moisturizer. Then, I used the very last of my Dr. Brandt "pores no more" Pore Refiner primer. (Sigh, that stuff was amazing.) Then, I hid away my acne and discolorations with ALMAY Clear Complexion Concealer. As you can see, that Pore Refiner and Concealer combination is amazing


In lieu of liquid foundation, I used Aveeno Clear Complexion BB Cream. This stuff is nice, but I'm not CRAZY about it. I'm really on the lookout for a BB Cream/CC Cream/Liquid Foundation that I really like (the way I really like ALMAY's Clear Complexion Concealer) but I just haven't found it yet. Anyway, I set my face with ALMAY Smart Shade Loose Finishing Powder. (A brief note about this stuff, I started off liking it a lot, but I'm starting to get disenchanted. So...)

Anyway, I didn't use bronzer, shimmer, or blush for this look because Rae doesn't usually wear makeup. So, I didn't want to go too big with the makeup. 


For my eyes, I used the pale shadow from my ULTA Jewel Palette on my lids. I also used the copper color to line under my bottom lash line--this was kind of "pushing it" for Rae. You know, 'cause she doesn't really wear eyeshadow. But, I just did it to brighten my eyes and I chose a fairly neutral color. So, I figure it can slide this one time. Then I used my absolute-favorite Rimmel London Volume Accelerator Mascara to lengthen and darken my lashes. 


Finally, for my lips, I used my Nivea Milk & Honey chapstick and Revlon Lip Butter in "Sweet Tart"

So my final look looked a little something like...

This! 
Now I just gotta snag myself a Finn. 

Just in case you're interested, I also did a Character Look video on my beautythekat youtube channel. Also, I did a fashion blog post on my tumblr. Both, of course, go along with this tutorial. 


Sunday, April 13, 2014

Poached Egg Breakfast Sandwich

You know how sometimes you're pretty near broke? But you have to eat food? And you would like that food to be filling and nutritious? (I'm serious here, it's a genuine issue. You can buy a box of eight PopTarts for less than four bucks and a salt-packed can of soup costs a dollar. Then, those things last for ages. But if you buy some fruits and vegetables, you'll completely break your bank. Plus, if you don't eat everything super quickly most everything ro--I've gotten off topic, haven't I?)

Well! Have I got the thing for you. It crosses off three of your five food groups (protein, dairy, and bread), it's relatively quick to make, and all the ingredients are fairly cheap. Also, it's a sandwich. You can totally add a ton of veggies, too, if you want. 

Ingredients:
  • 2 Eggs
  • 2 Slices Whole Wheat Bread
  • 1 Slice Cheese
  • Seasoning
  • Butter (optional)

My first step, is always to crack two eggs into a container. So, this might be a "not so advisable" piece of advice. Technically you maybe shouldn't poach two eggs simultaneously in the same pan. But I always do. Because ain't nobody got time to poach eggs one at a time.


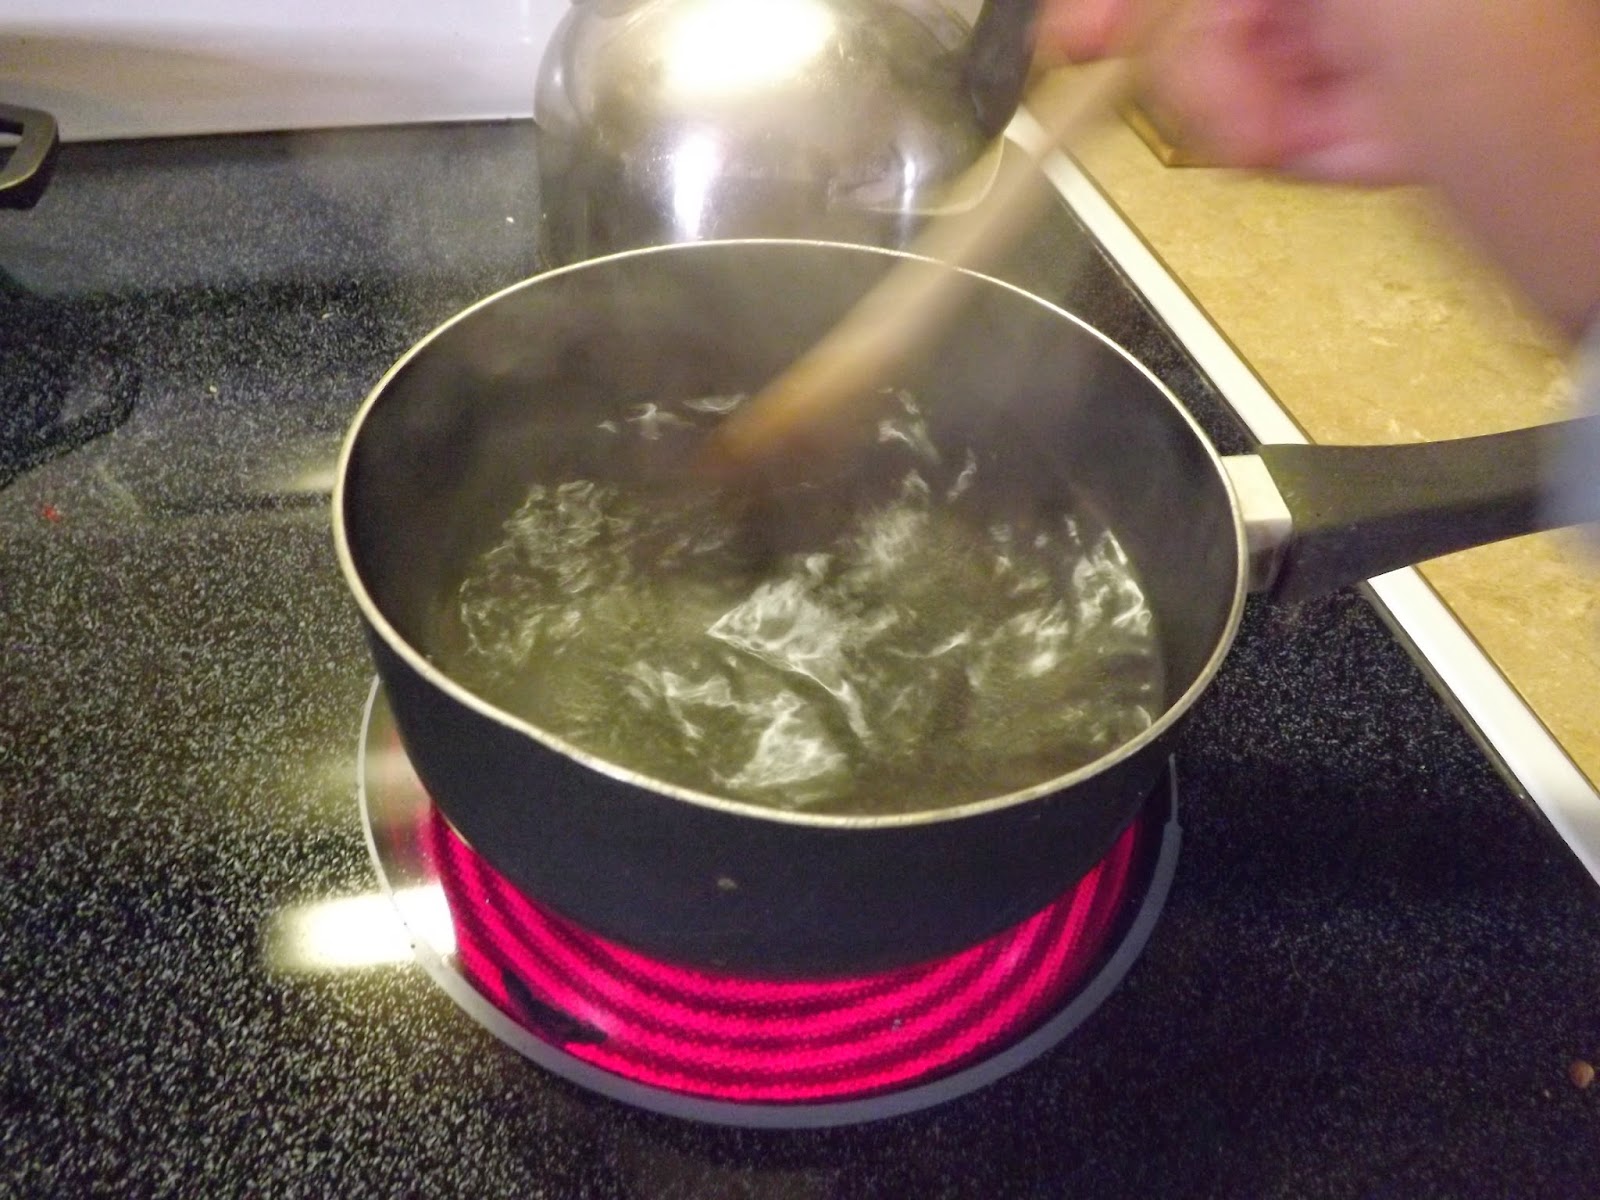
Bring a pan of water to a boil. I always heat it at, like, somewhere in the 6-8 heat range. I think technically with poached eggs you should bring it to a boil on high and then move it to mid-heat range once you add the eggs. But, I don't usually do that. 


I only ever use the hurricane poached eggs method, where you take a spoon, stir up the boiling water, probably splash some on your forearm, cuss like crazy and say a silent "thank you" that your parents weren't there to hear you, and dump the eggs into the middle of the swirl, which immediately disappears and most of your egg whites wind up going everywhere anyway. Then, you rush to run your forearm under cold water with a dreaded, though admittedly overdramatic, worry that you'll have third degree Bend-It-Like-Beckham burns that eventually scar.

I hear that vinegar works, too. Also, there are apparently little plastic poached egg cozies. Renee had some. So, there are probably easier, less dramatic, methods of doing this, is the point.


This is my chosen method, though. If it's not a little dramatic and overly complicated, it's not the beautythekat way.


Let your eggs boil for ten minutes. Maybe you should tend to them during this time. I usually don't, though, and only once have I had a yolk-entirely-separated-from-the-whites problem. So...


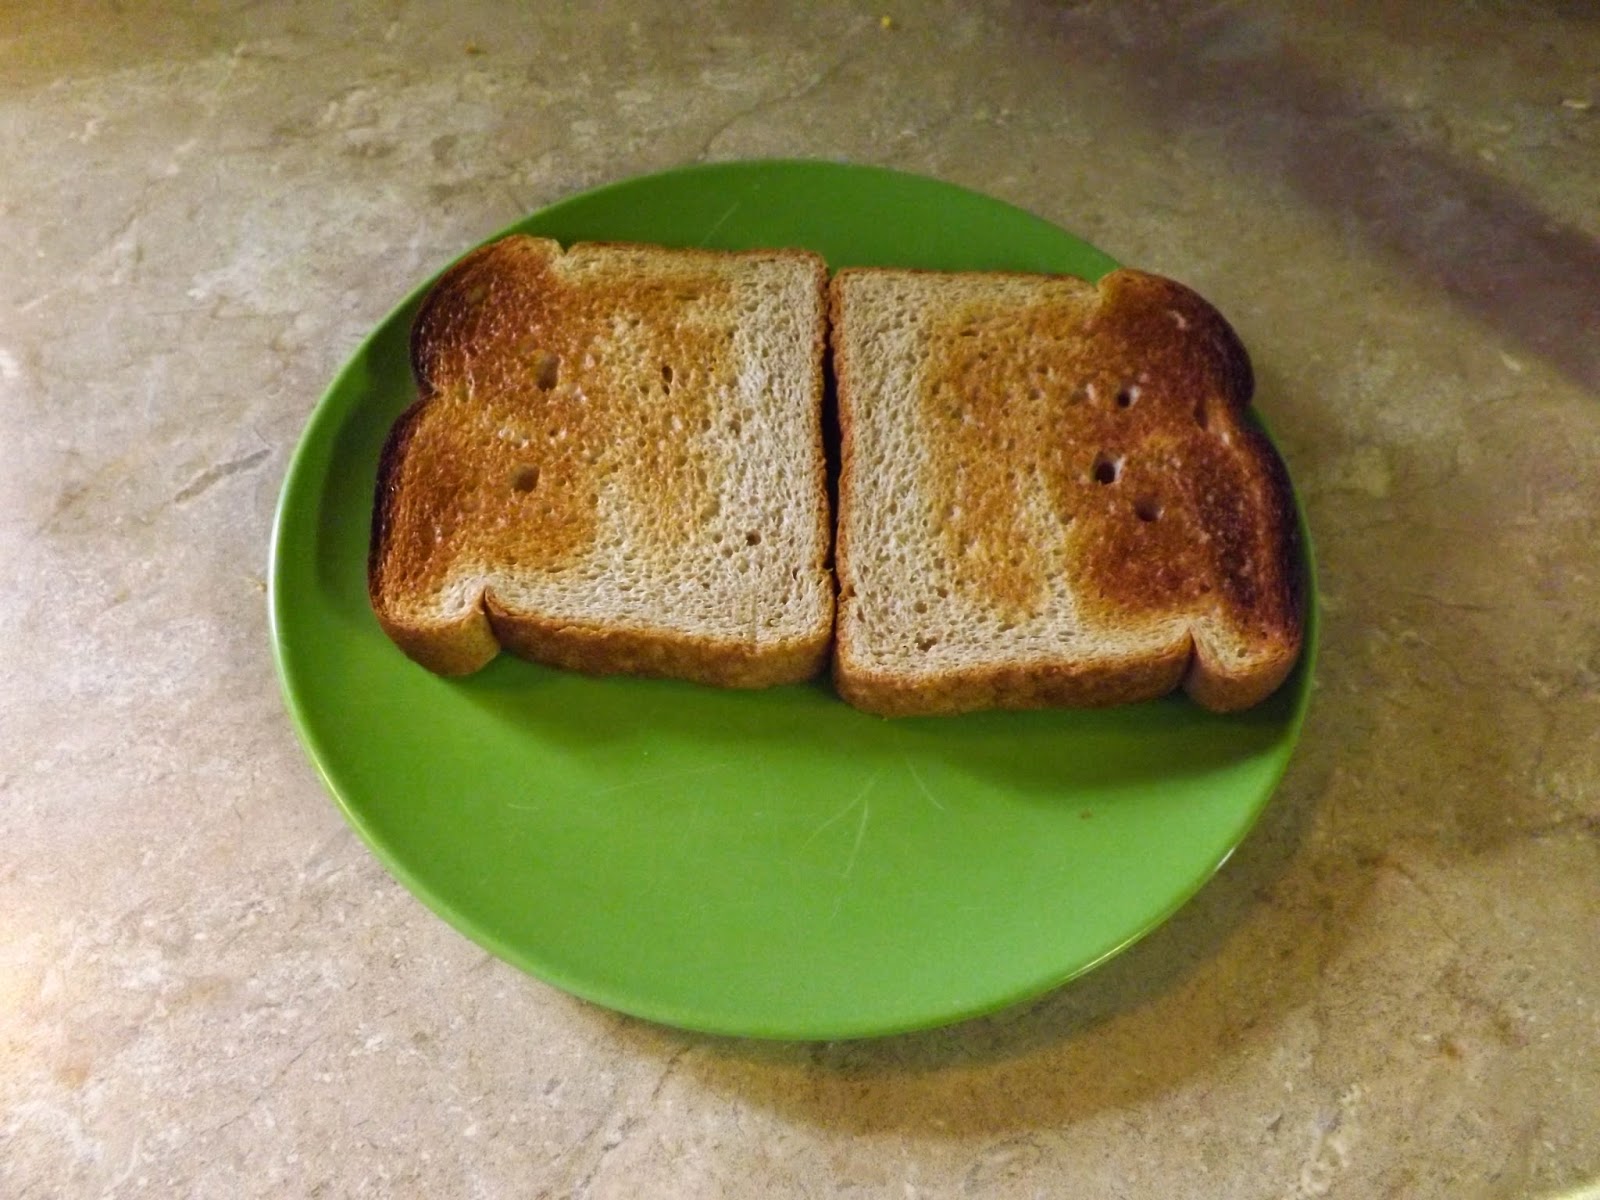
When you only have two or three minutes left on your timer, toast your toast. Actually, that's how long it takes my toaster to toast. The big issue is, really, that you don't your toast to finish waaaay before your eggs, but you also don't want your eggs to finish before the toast. So, timing is key.


Good. Now your toast is toasted.


I don't always butter one slice of toast. But sometimes I do. I would prefer, though, to use an avocado spread. Or just slices of avocado. Avocado's delicious.

But, I usually, when I'm avocado-less, butter one slice of toast and set a slice of cheese on the other. I prefer aged white cheddar or provolone, but swiss is good, too. Just don't use any of that orange crap. Why would cheese be orange, anyway? Cream is... cream colored. Off white. Whatever. Just don't use the looks-like-it's-been-radiated cheese on my sandwich recipe, okay? (Or do, I really don't care what you do. I eat orange cheese too sometimes. I'm just a grouchy hypocrite.)


Now, add your poached eggs. Try and drain as much of the water that's on them off, though. I like to use one of those spoons with the cut-outs in hopes of preventing the super-soggy-sandwich-situation. 


Season that sandwich. I like to use garlic salt and pepper. But you can use whatever you want. Just not, like, crack cocaine or cinnamon. 


Then, uh, fold it up into a proper sandwich. And eat it. 'Cause it's delicious, and you should be rewarded for all of that work that you just did. 

Anyway, I think the whole thing should only take you about 20-30 minutes. But I'm not positive because I've never timed myself. It's super good, though. So I really recommend you making it. Also, what's up with that title? I don't think I've ever made this for breakfast.